Portfolio Website
March 2020
The aim of this project was to create this portfolio website to showcase my other projects; I will detail how this was done below.
- How to template HTML using Jinja2
- How to create interesting visual effects with CSS and JavaScript
Project Data
The main aim was to make it as easy as possible to add a new project to the website, without having to create new HTML files each time. To do this, I created a set of template files using Jinja2 which is a HTML templating language which allows for extra functionality such as conditionals and loops. Using these templates means that the styling is consistent between all pages and any changes to how certain elements are displayed require changing only the template as opposed to all of the final HTML files.
To store the data for the project I used a JSON file, with a defined structure for the data that each project should include. The basic properties each project should have are shown below:
    {
    "id":"",
    "type":["web", "short", "etc."],
    "title":"Title On WebPage",
    "date": "March 2020",
    "languagues":[
        "HTML",
        "CSS",
        "etc.."
    ],
    "description":"",
    "structure":"",
    "learnt":[
        "How to create a template",
        "How to show code on the screen"
    ]
}
Each project must have an ID, title, date, list of languages, and a description. Every part of the webpage is defined as a 'section', with a header and a block of content. This content can be one of the following forms:
- A simple string of text: this will be displated in a text block
- A simple list containing strings: this will be displayed as a list
- An object: this object should contain information about what is to be displayed and will be dealt with accordingly; the objects that can be dealt with will be shown below
- A list of non-string objects: this will be iterated over and each element inside will then be displayed according to the three rules above
The types of media that can be displayed are shown here:
    {
    "media":[
        {"type":"text", "value":"TEXT HERE"},
        {"type":"list", "value":[
            "item1", "item2", "item3"]
        },
        {"type":"image", "value": {"src":"src_of_image", "caption-header":"HEADER", "caption-full":"EXTRA CONTENT"}},
        {"type":"code", "value":{"src": "SOURCE FILE", "language":"LANGUAGE"}},
        {"type":"pdf", "value":{"src":"src_of_pdf", "caption-header":"HEADER", "caption-full":"EXTRA CONTENT"}},
        {"type":"powerpoint", "value":{"src":"src_of_powerpoint", "caption-header":"HEADER", "caption-full":"EXTRA CONTENT"}},
        {"type":"multiple", "value":[
            {"src":"src_of_image", "caption-header":"HEADER", "caption-full":"EXTRA CONTENT"},
            {"src":"src_of_image", "caption-header":"HEADER", "caption-full":"EXTRA CONTENT"}]
        }
    ]
}
As well as the default sections (languagues, description, etc.), any new sections (a bold title followed by a block of content) can be defined in two ways:
    {
    "sections":[
        {
            "title":"TITLE",
            "content": "SECTION_CONTENT"
        }
    ],
    "new_section_name": "SECTION_CONTENT"
}
Finally, subsections can be defined; subsections are blocks of content that essentially act like a project-within-a-project and have all of the details that would be expected of a project definition. In fact, these subsections use the same HTML template as the main projects, just with a flag set to control the container around it. A full project definition template is shown below:
    {
    "id":"",
    "type":["web", "short", "etc."],
    "title":"Title On WebPage",
    "date": "March 2020",
    "languagues":[
        "HTML",
        "CSS",
        "etc.."
    ],
    "description":"",
    "structure":"",
    "learnt":[
        "How to create a template",
        "How to show code on the screen"
    ],
    "tabs":[],
    "subsections":[
        {
            "id": "",
            "title": "",
            "github-link": "",
            "languages": [],
            "description":"",
            "structure":"",
            "examples":[
                {"type":"image", "value": {"src":"src_of_image", "caption-header":"HEADER", "caption-full":"EXTRA CONTENT"}},
                {"type":"multiple", "value":[{"src":"src_of_image", "caption-header":"HEADER", "caption-full":"EXTRA CONTENT"},{"src":"src_of_image", "caption-header":"HEADER", "caption-full":"EXTRA CONTENT"}]},
                {"type":"code", "value":{"src": "Source file", "language":"LANGUAGE"}},
                {"type":"pdf", "value":{"src":"src_of_pdf_or_pppt", "caption-header":"HEADER", "caption-full":"EXTRA CONTENT"}}
            ]
        },
        {
            "id": "ID",
            "archive":"true",
            "title": "..."
        }
    ]
}
Any project, or even any subsection within a project, can have '"archive":true' added to it in order to make sure it is not added to the porfolio website; this helps when I want to work on writing up a project but don't want it to be displayed until I am finished.
I wrote a python script that parses the projects JSON file and renders each section appropriately using the HTML templates mentioned earlier. This Python script also creates the home page and the filters on it (for language and type) by extracting all of the possible types and languages from the projects file.
Visuals
My aim was to keep the website's UI simple, consitent and easy-to-use. I will mention specific elements of the UI and explain the thinking behind them below.
As mentioned in the projects data section, the filters for language and types were gathered by extracting all of the possible languages and types from the projects file. These were then displayed in a list of filters which, when clicked, ran a simple piece of JavaScript code that added/removed a 'hide' class to each project depending on the filters. The language filters were designed such that every language would have its own colour, with related technologies (such as JavaScript and TypeScript) having similar colours; these match the colours of the languages displayed on each project page.
A toggle all on/off button was added to each filter section to make it easier for the user to get the configuration of filters they want
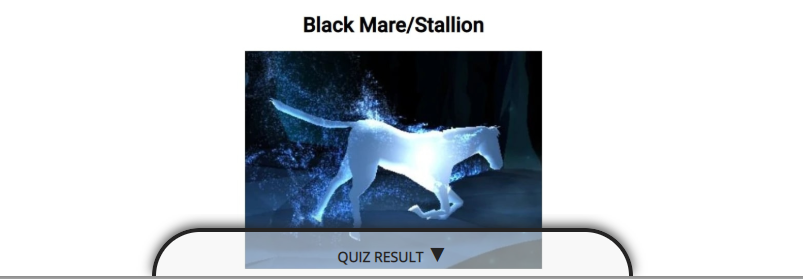
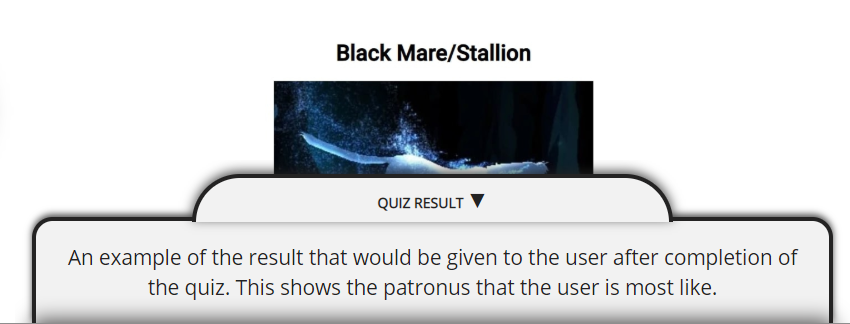
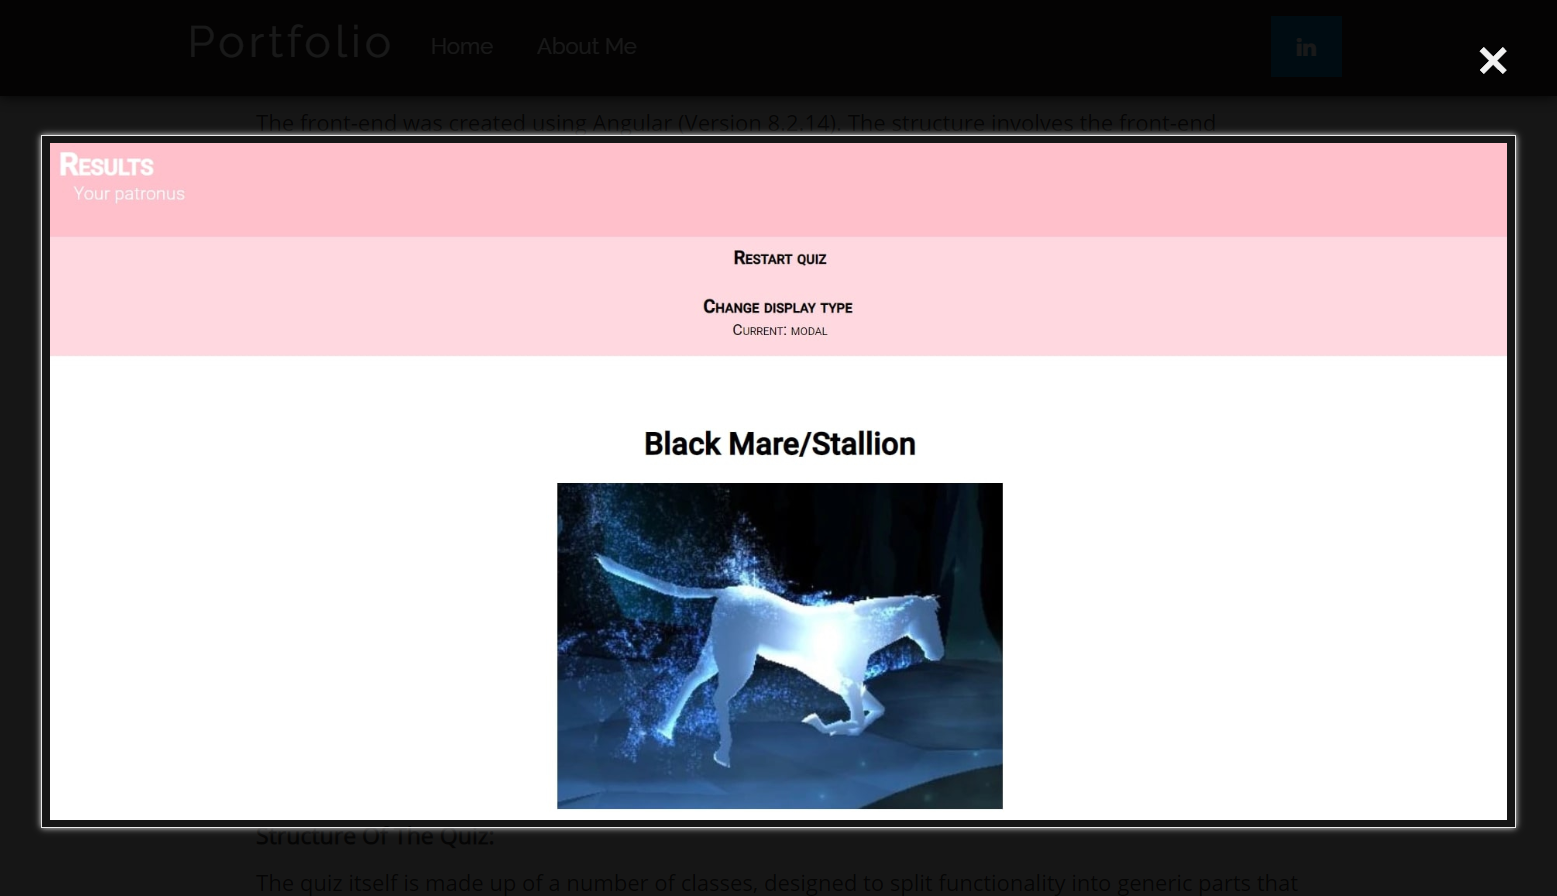
One of the more difficult things to create on this website was the image captions. I wanted to create a caption that would simultaneously stand-out, contain variable amounts of information, and not overwhelm the picture. I decided on a caption consisting of two parts: a header and a full section. The header is always displayed, but the full section can only be seen by hovering over the caption. Further to this, the caption starts out as slightly transparent so the image is not completely covered. The overall design of the caption is supposed to evoke imagery of a clipboard rising out of the bottom of the image. An example is shown below:
One design that is present on almost every page, including this one, is that of image carousels. I decided early on to use these, as the best way to show off projects is through images, and a carousel allows many images to be displayed in a small amount of space for the user. I designed these to be as easy to operate as possible, with previous and next buttons alongside navigation dots. Like with the captions, the buttons were designed to both stand-out but not overwhelm the image


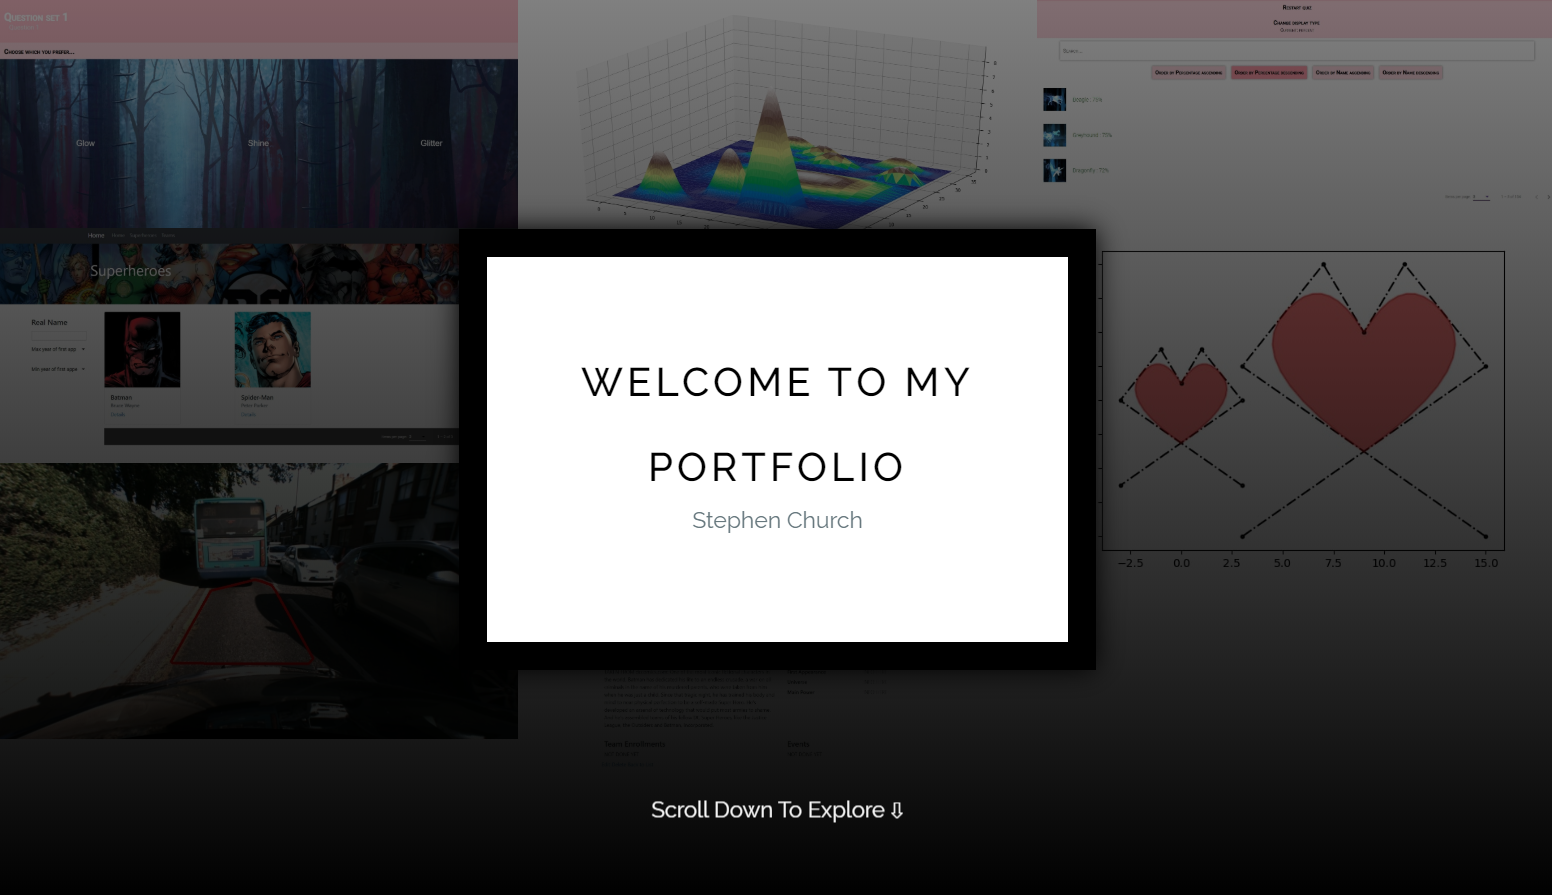
As the entrance to the page, I wanted the hero banner to give a taste of what my projects showed. For this reason I made a background that consisted of a collage of images from my projects, with a simple box of text overlayed to explain what my website was. The image is fixed to create an interesting perspective trick when scrolling down to the home page, and the 'scroll down to explore' text is animated to bounce to catch the attention of the user:
Wherever possible, efforts were made to make the website scale down well to mobile devices. This included changing the sizes of boxes, changing the collage of images in the hero banner, and creating a collapsible navigation header.